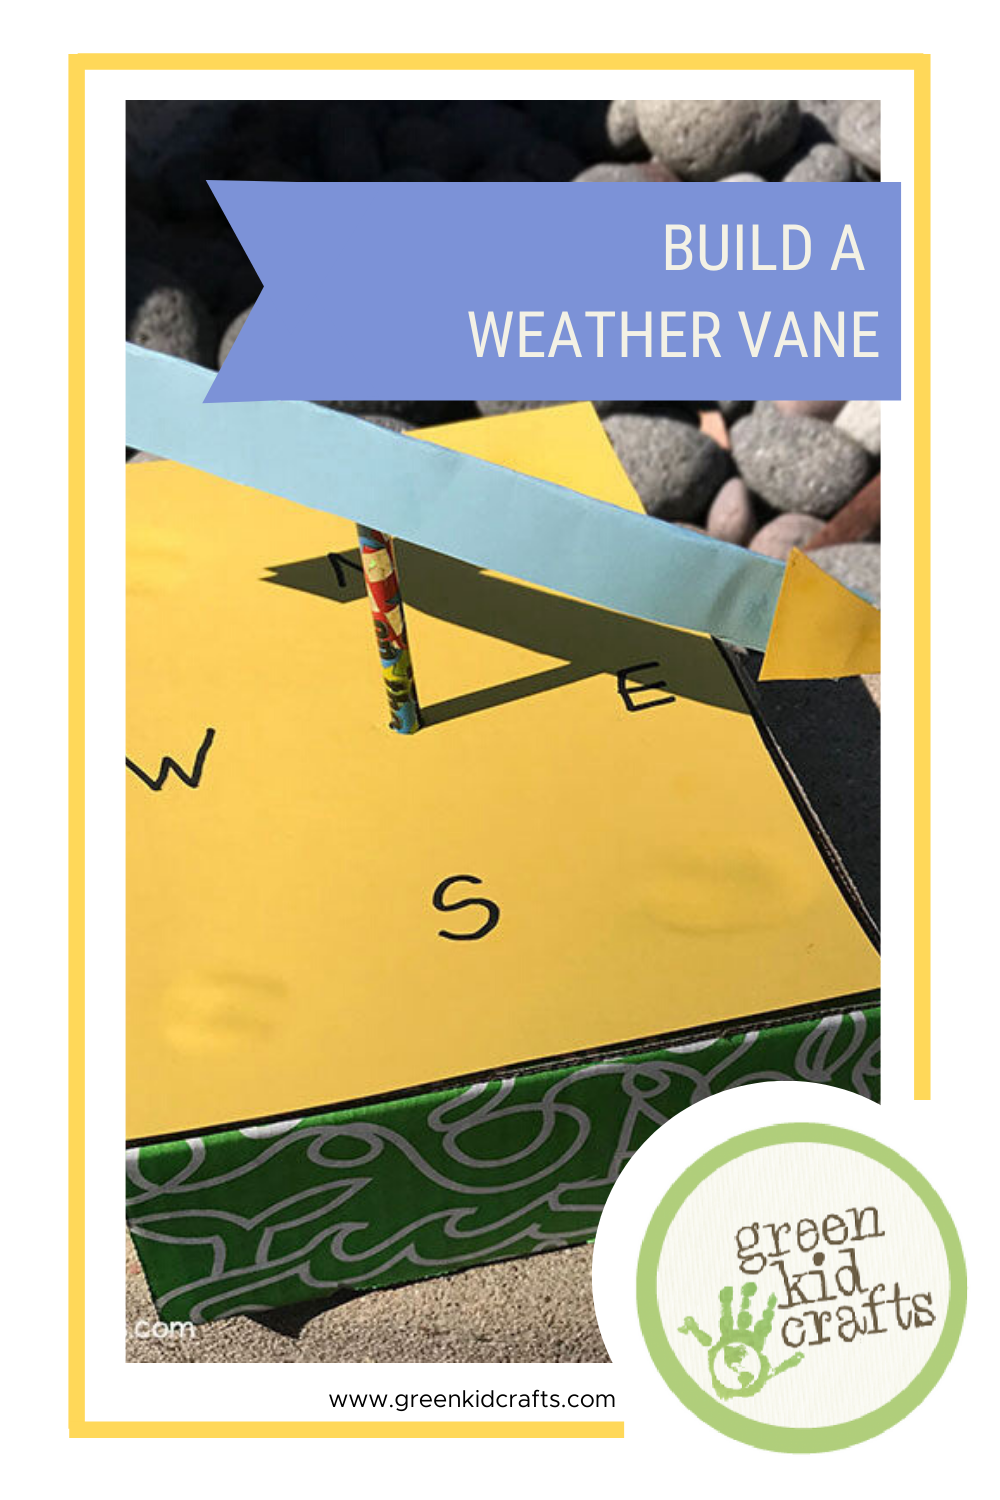
DIY Weather Vane Project: Recycled Box
Have you ever looked to the roof of a building to see an object spinning with the wind? Usually an arrow points in different directions as the wind blows it around. The object way up there in the sky is called a weather vane. A weather vane shows us which direction the wind is blowing by spinning the arrow towards a letter on a stationary compass.
Here’s what you’ll need to make your own weather vane:

- 1 Empty Green Kid Crafts Box (or shoebox)
- Construction Paper
- Pointed object such as a pencil or paint brush
- Glue
- Scissors
Instructions:
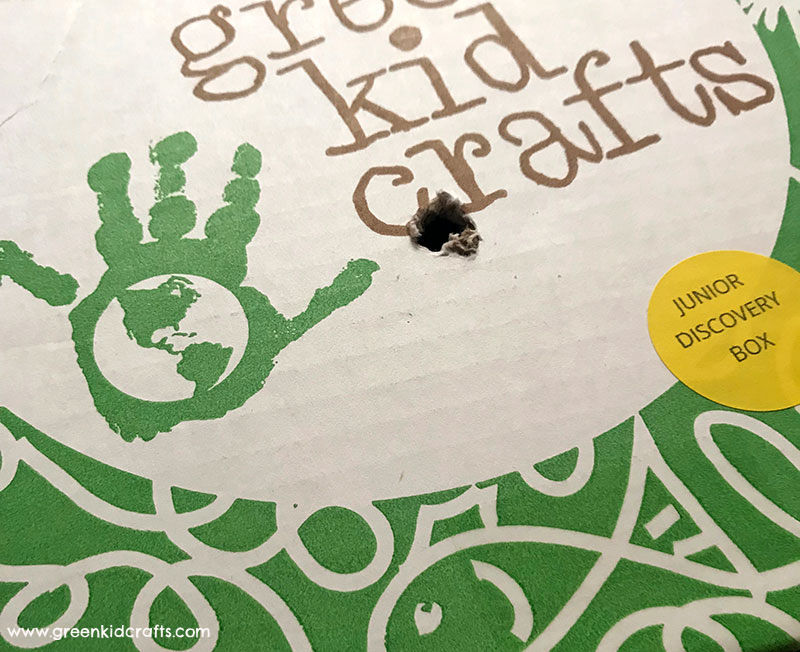
Close your empty Green Kid Crafts box and poke a hole through the lid that will securely hold the pencil upright.
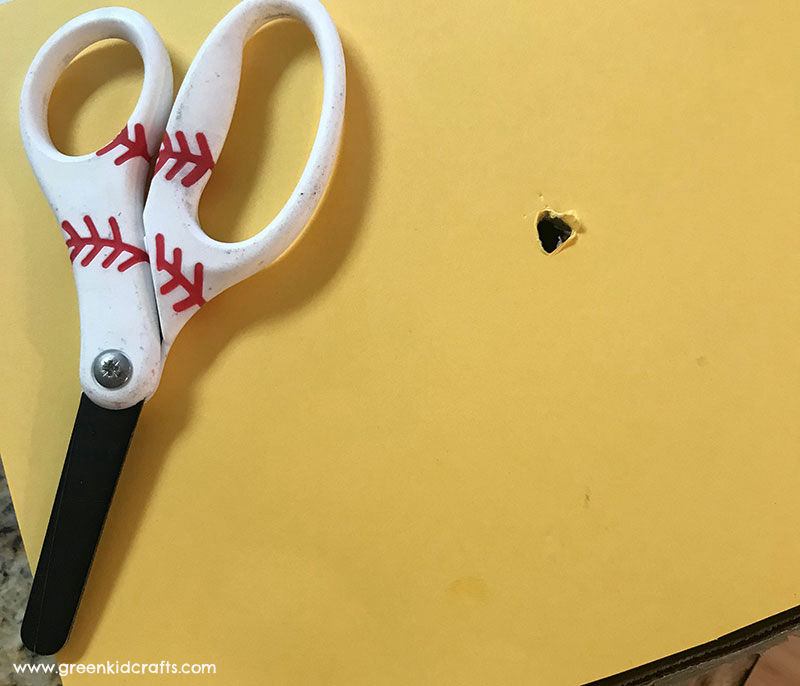
Cut a piece of paper to fit the top of the box and attach it with glue.
Push the pencil or paint brush through the paper and hole in the box. Make sure it stands upright without tipping over.
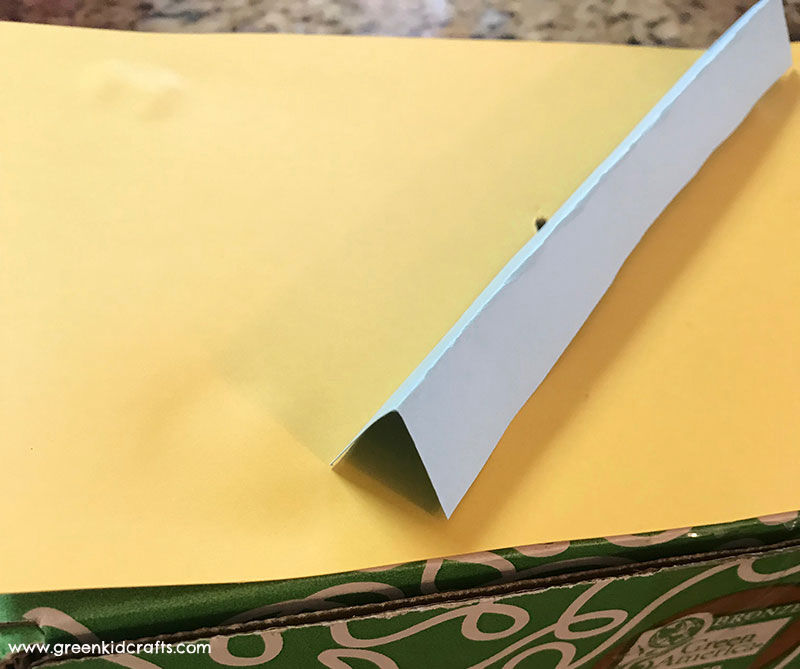
Cut a narrow strip of paper and fold it in half. Glue the ends of the folded paper closed. Let dry.
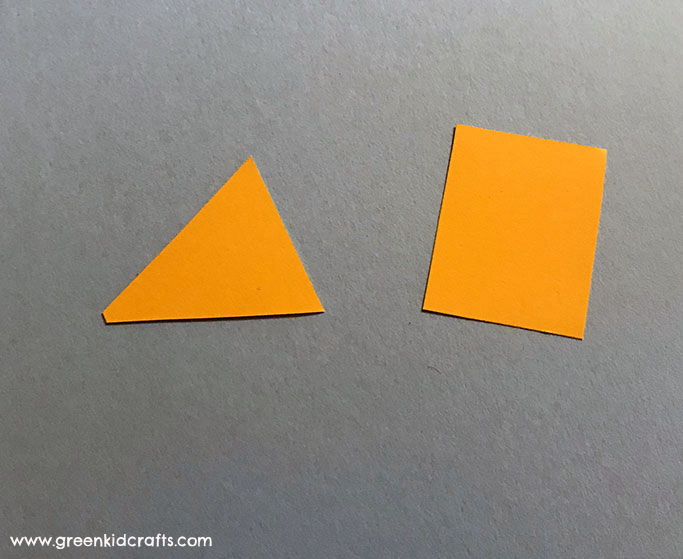
Cut two triangle shapes and two rectangle shapes from a piece of paper and glue them to the long folded paper to make an arrow.
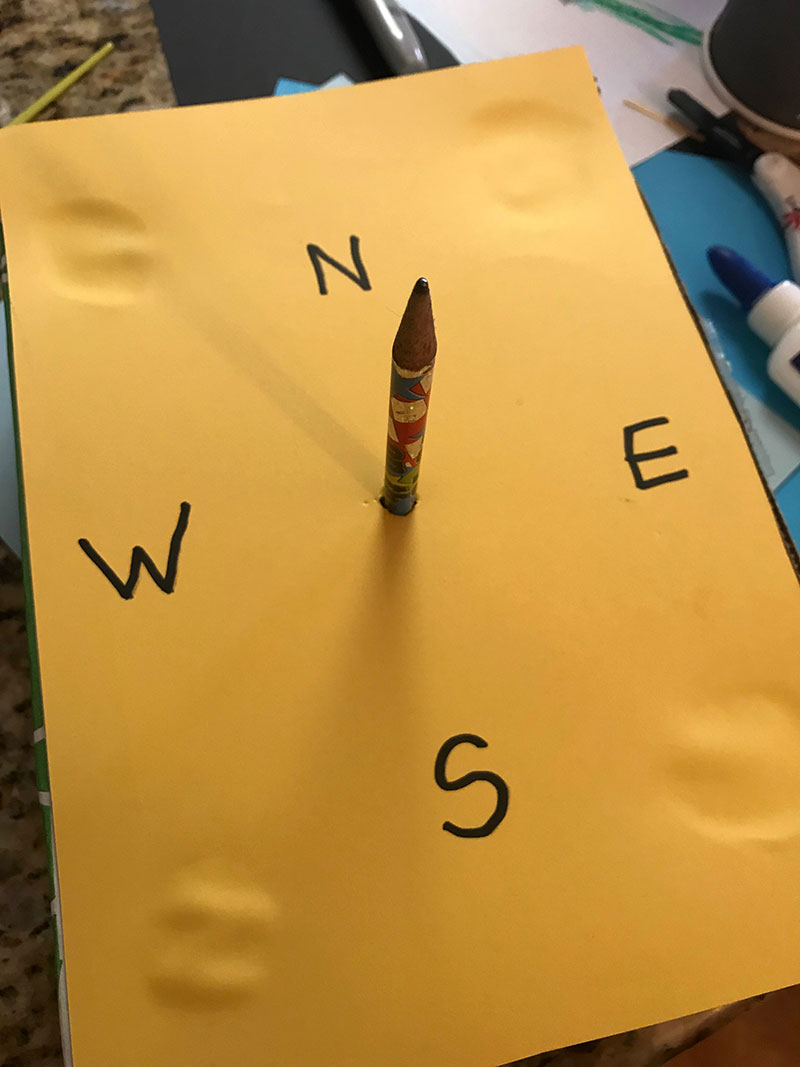
Label the paper on the box with north, east, south and west. Take the box outside and align the labels with the correct directions.
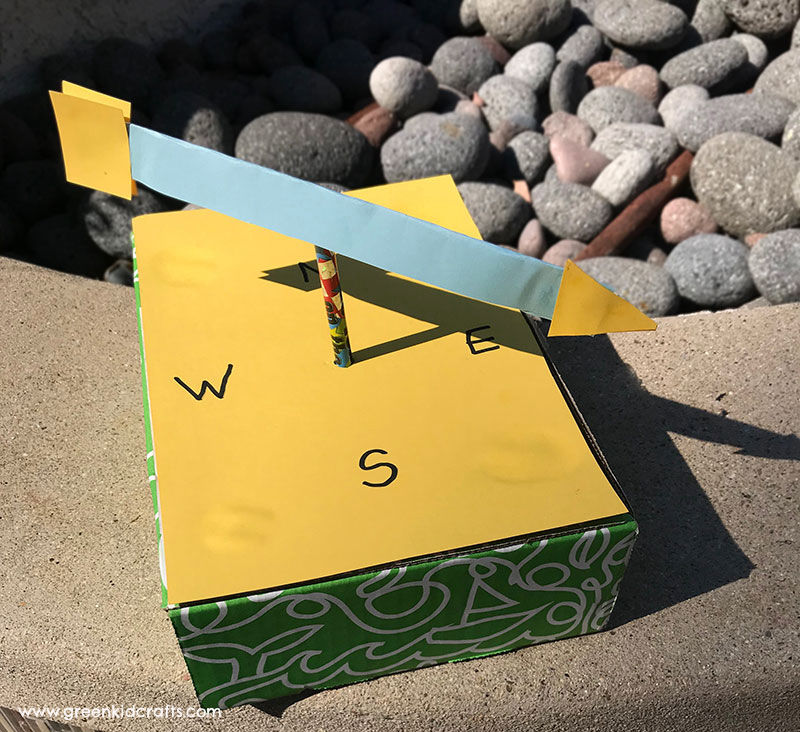
Balance the arrow on the pencil and watch the wind move the arrow to point which way the wind is blowing. If your arrow falls over you can make the gap on either side of the pencil smaller by adding more glue to the folded paper. And there you have it, your very own DIY wind vane at your own backyard!
Which way is the wind blowing at your house today?