Overnight Crystal Garden
Despite the wait time, my boys love experiments where they can anxiously wait to see what happens when something is left to grow. Crystals are neat – they look like little tiny snowflakes or fragile glass. We colored ours so it had a neat effect. We were also curious to see these crystals form from just using Epsom salt! That was an ingredient we had never used before in a science experiment. I would recommend using a few jars to be able to see any differences in crystals!
Supplies
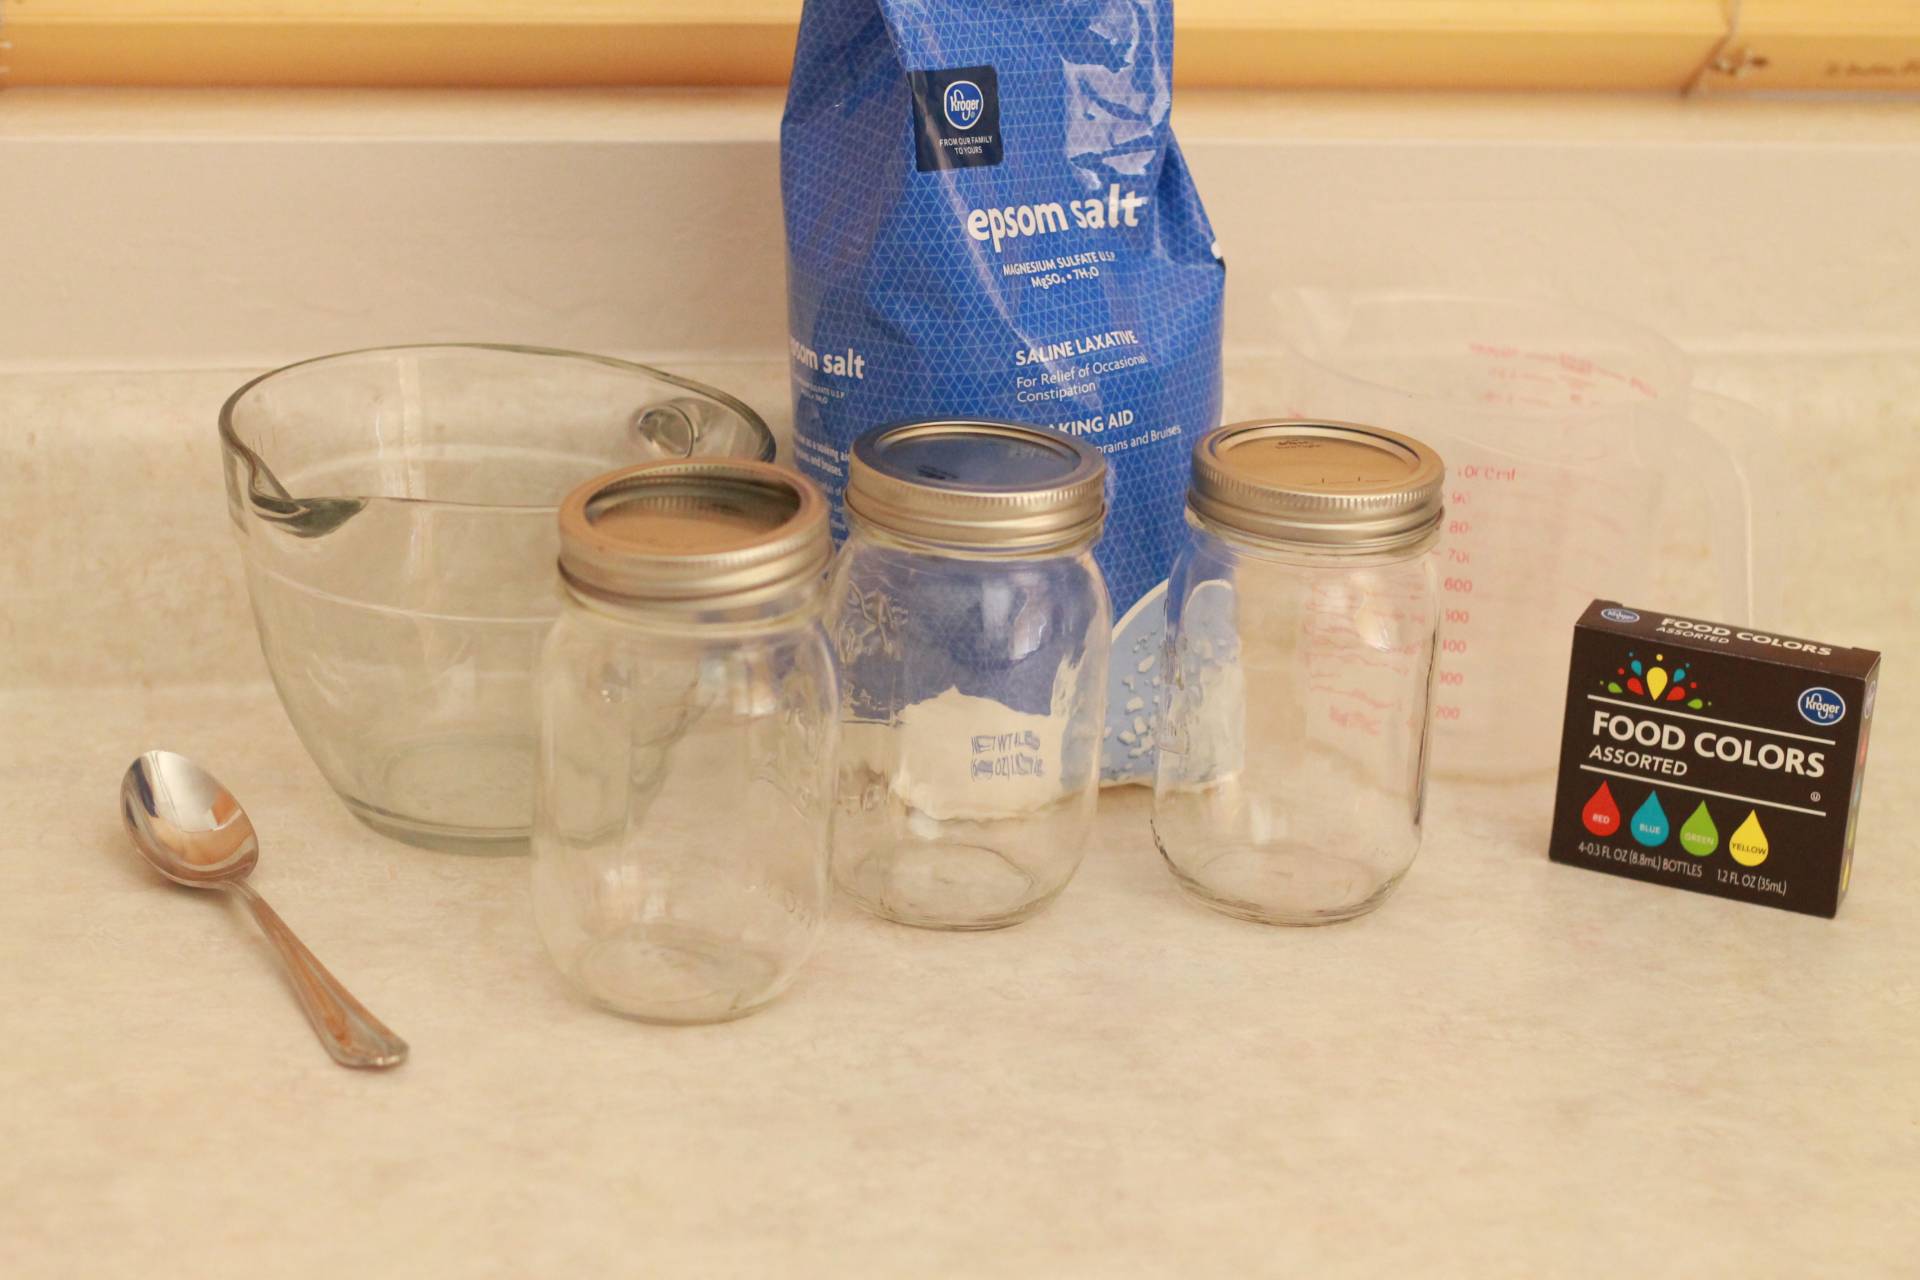
- Epsom salt
- Clean glass jars
- Food coloring (optional)
- Bowl or glass measuring cup
- Spoon
- Pebble or Sand
- Microwave (optional)
Instructions
You will be using a ratio of 1:1 water to Epsom salt for this project. Add 1 cup of Epsom salt to your jar/votive. If you are working with larger jars feel free to add more salt but be sure to make a note of how much so you can add the same amount of water.

Add 1 cup of water to a microwave safe bowl. Heat the water in the microwave for 45 seconds. Alternatively use very hot tap water and skip the microwave.
Notes: Don’t overheat the water! Ones heated more than 45 seconds may not develop. Do try to stir for 1-2 minutes to get as much salt dissolved as possible. DO NOT let them sit in room temperature. Crystals will deteriorate.

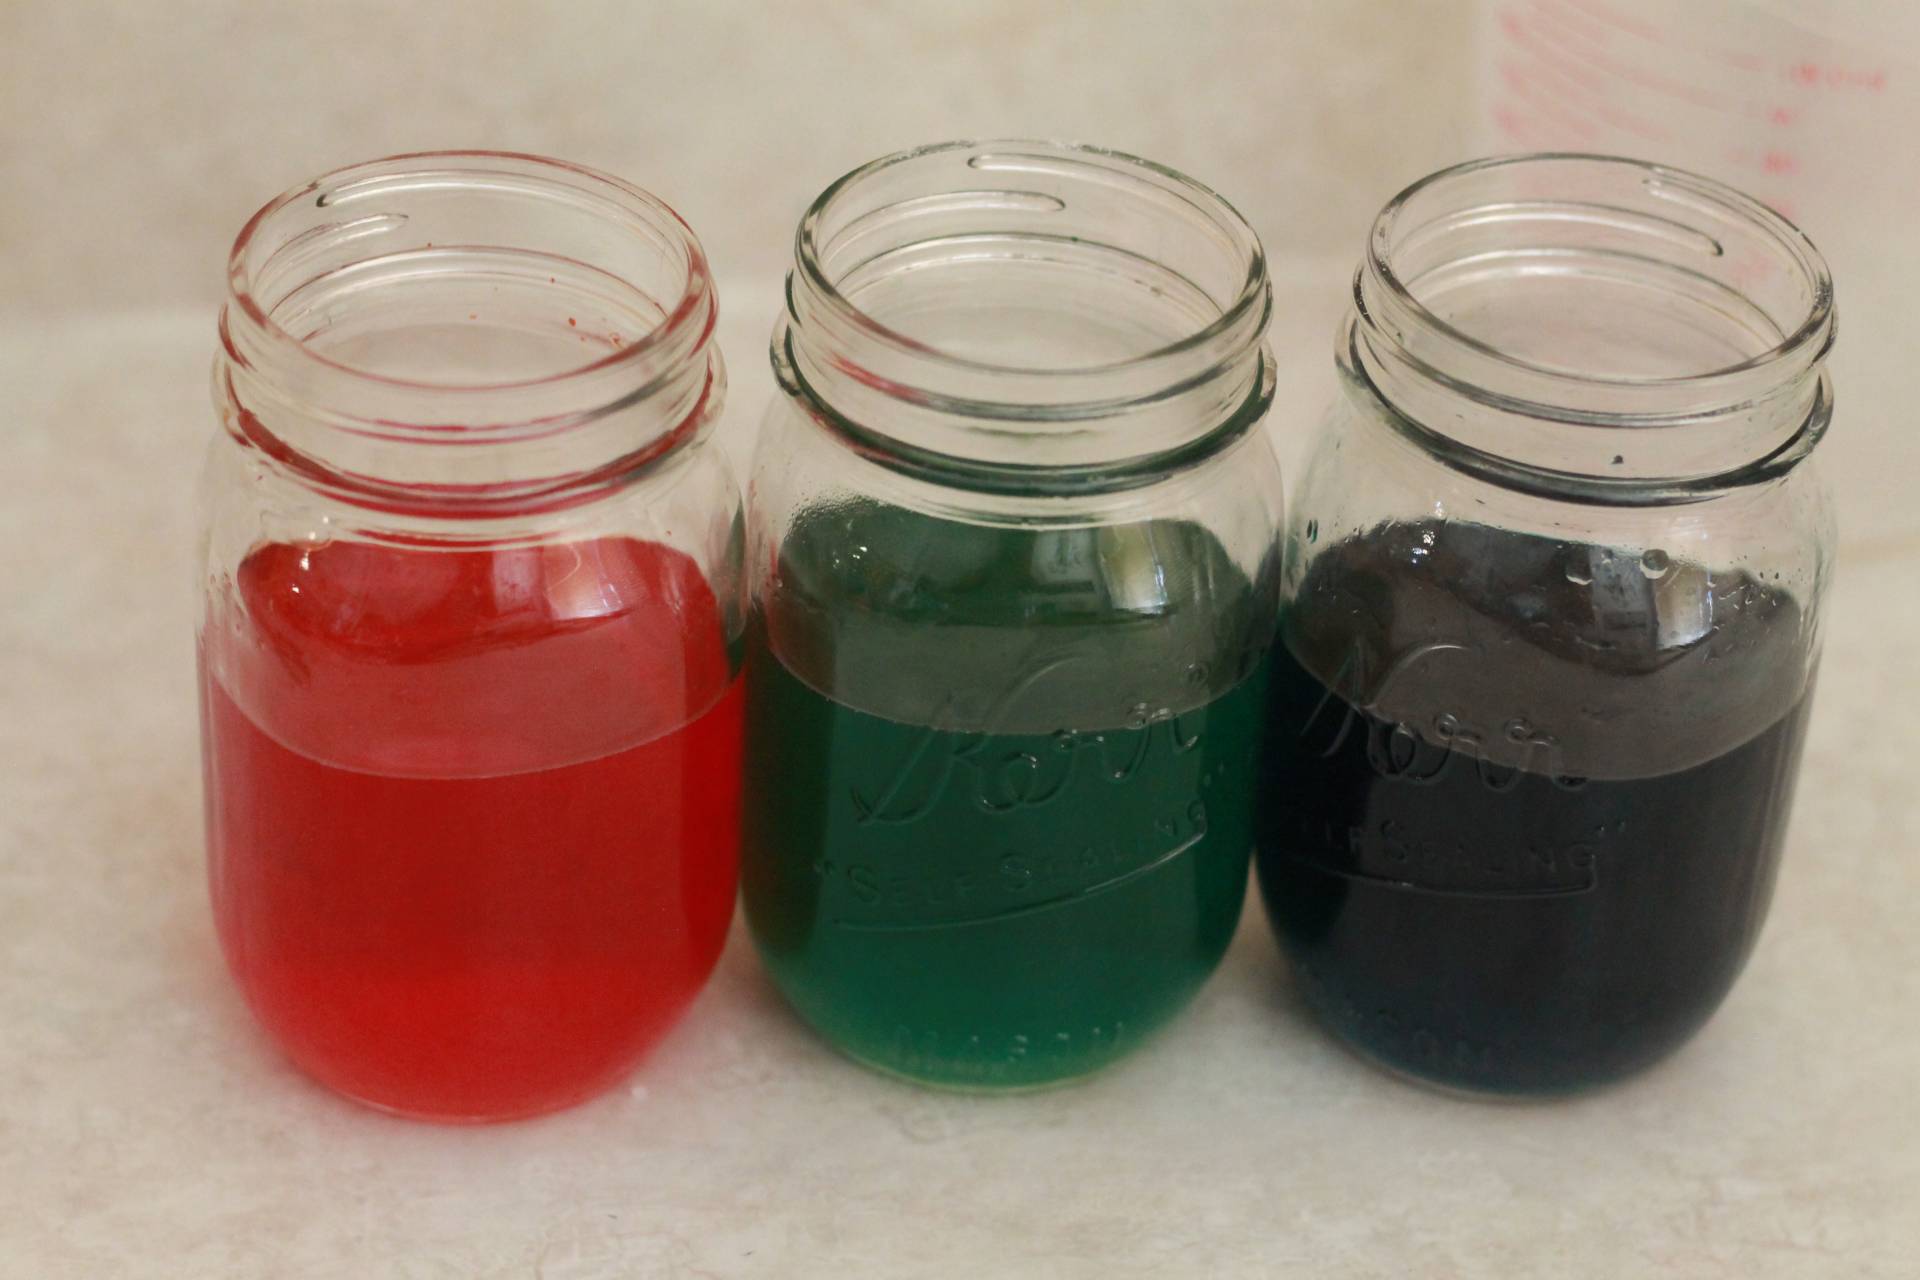
If you are using color, as we did, add a dash of food coloring to the water. Stir.

Pour the water into the jar with the salt. Stir the salt and water for 1-2 minutes to dissolve the salt. Don’t worry if some of the salt remains undissolved at the bottom of the jar.
Drop a pebble or a few grains of sand. Crystals need something to grow on and one little impurity in the water like grain of sand should help ensure they have a place to nucleate.
Place the jar in the back of the refrigerator. Alternatively, quick cool the mixture for 10 minutes in the freezer and then move it to the refrigerator. There is a slightly less success rate going straight from mixing to the fridge.

Leave the mixture overnight in the fridge. Crystals may start forming in as little as 3 hours but we got the best results when we made the gardens in the evening and left them to sit undisturbed overnight.

Carefully pour out the extra liquid. It’s okay to leave a little liquid at the bottom. If you colored your water it will be hard to see if any crystals have grown until the excess liquid is removed. Clear water is easy to check.


Use a wet paper towel to gently wipe away excess salt and water that may be on the upper portion of the jar. Be careful not to damage any of your crystals! Touching them may easily damage them.
As I mentioned at the beginning, it was neat to see what the Epsom salt and water could form! We didn’t know that the two together would form these beautiful crystals. My kids were amazed!


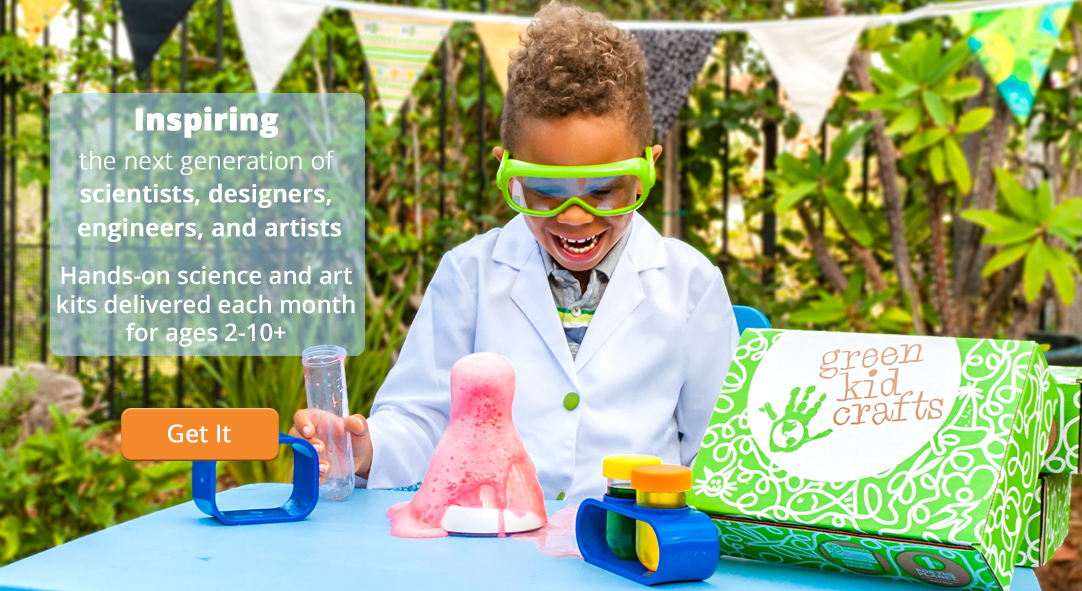
Green Kid Crafts combines art and science to make STEM fun and accessible so that kids can begin to see themselves as scientists, artists, and makers. We offer many project ideas, like this dancing rice experiment, on our blog, and we also send tens of thousands of kids across the country a monthly science and art subscription box full of fun projects through our company’s subscription program. Voted the best kids subscription box by Red Tricycle and winner of the Academics’ Choice Brain Toy Award, both kids and parents love our award-winning STEM and STEAM subscription boxes!

I tried doing this at home for a crystal project and it didn’t work at ALL. I don’t know what you guys did differently than me, maybe I put too much food coloring like is that even possible?!??
FYI we heated the water for 45 sec and water was lukewarm at best. Nothing grew. Missed the bit about that the water needs to be hot … but hard to know how hot it needs to be since it might not grow if it’s too hot?
Hi there,
My grandson and I made four containers of crystals and two look pretty good the others didn’t take. We want to know what to do now. Do we leave them ‘out’?
Thanks,
Connie and Vince