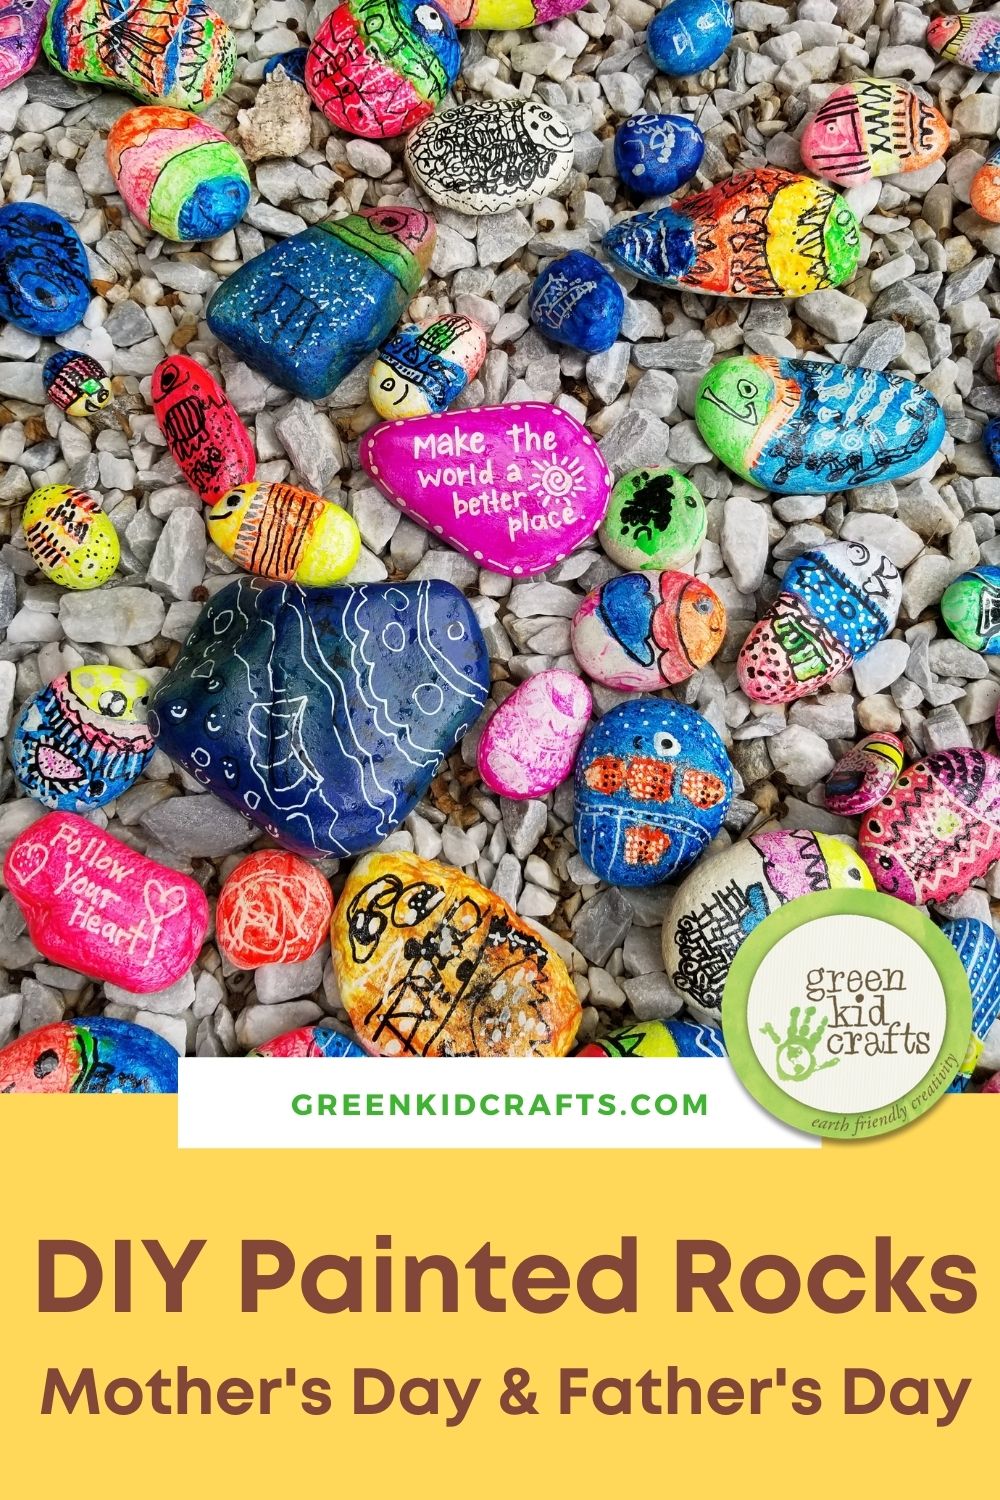
Free-Painted Rocks Make a Wonderful Gift
We were searching for the perfect frugal/no-cost sweet gift idea for mothers, fathers, and grandparents.
Life with kids can be chaotic, but this simple rock craft is one that even toddlers can do, and it is really not very time-consuming at all.
We started it off by going on a little nature hike, which is the perfect way to get kids outside in the fresh air and help them blow off that extra energy. The kids searched for rocks and once we had collected the amount we were looking for, we headed home to wash off any of the dirt and get them ready for painting. When we first decided to make painted rocks for mother’s day and father’s day, I thought about different detailed designs, but in the end, free painting won. Allowing the kids to have total free range and control of their painting makes the gift that much more unique and creative, and also something completely from them. Plus, I just love the way these turned out.
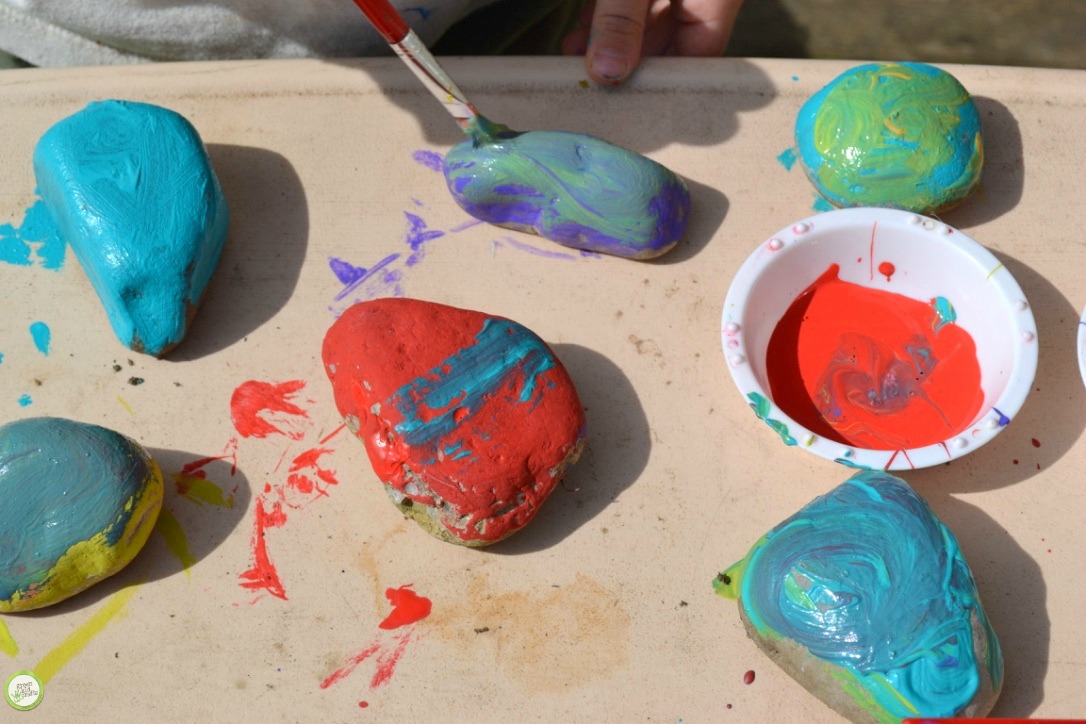
The kids mixed the colors together and created some fun swirl effects. Even my little toddler got involved and painted her own rocks – she was quite impressed with herself. Older children might want to get a bit more detailed – some fine dotted patterns might be fun – but for my toddler and kindergartener, simply mixing the colors together and painting was exactly what they wanted to do.
These child-painted rocks are such a sweet and simple gift to give parents, grandparents or other special caregivers. You can customize them as you see fit, and they really don’t cost a thing (other than the cost of paint if you don’t already have it). The rocks can be used outside in the garden as decoration or even inside – they’d look great anywhere! I also think they’d make a great addition to a little fairy garden if you already have one:)
Here’s how we made our free painted rocks.
Materials Needed:
- Rocks
- Paint (we used acrylic) & paintbrushes
- Sharpie or other permanent markers
Directions:
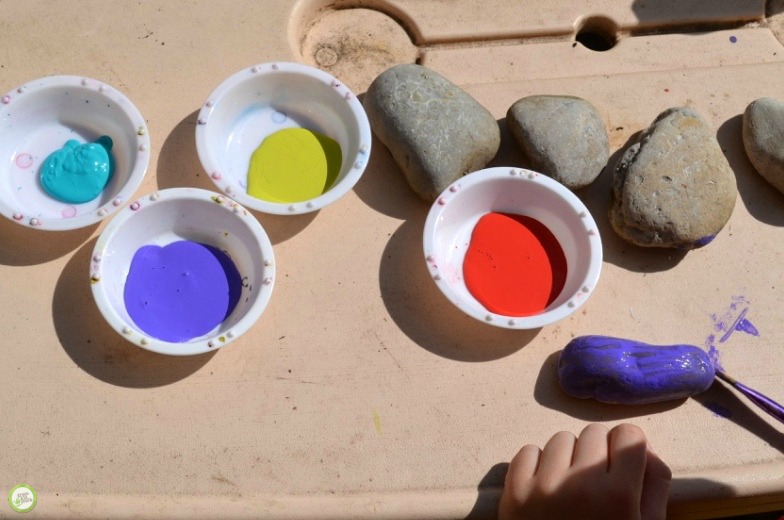
- First, find your rocks. We collected 6 good sized rocks (about the size of an adult’s fist). Clean all the dirt and debris off of them.
- Gather your paints and let the kids paint as desired. This is the fun part – total free range and they can also see how certain colors mix together.
- Let the one side of the rocks dry, turn them over and paint the other side. Completely cover the rocks in paint.
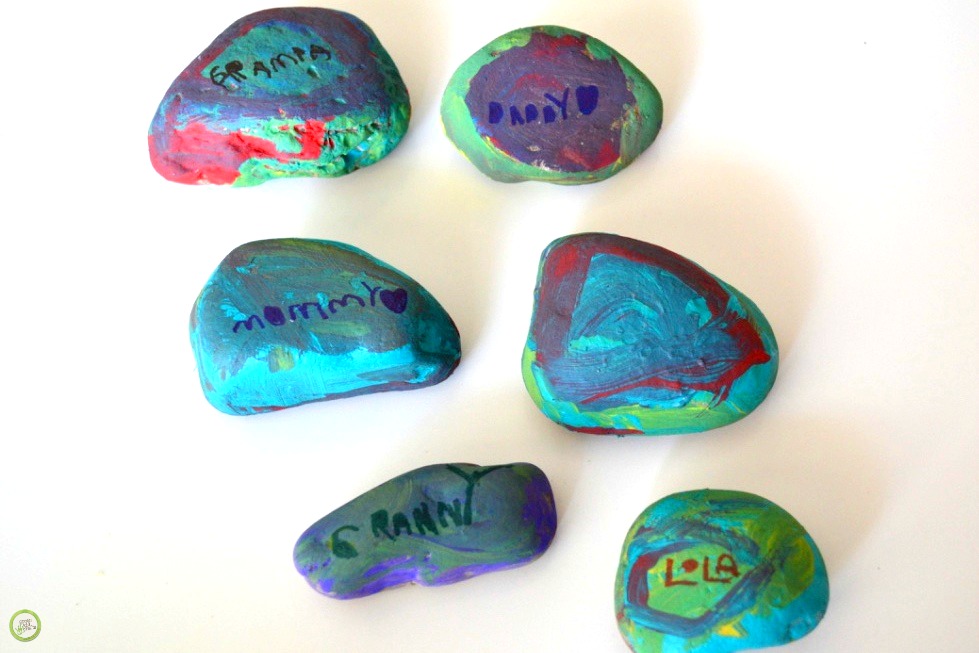
- Once the rocks are dry, get out your permanent markers. If your child can write, have them write the names of the people you are gifting the rocks to. My 5 year old did this part.
- Lastly, you can choose to either leave the rocks as is or spray with a sealer if they’ll be outside permanently.
- Ta-da, you’re done! See, how easy was this? Pair this with a sweet homemade card and you have a great, green craft for Father’s Day.
This great DIY gift is a guest post from Megan at the HEN Family Blog.

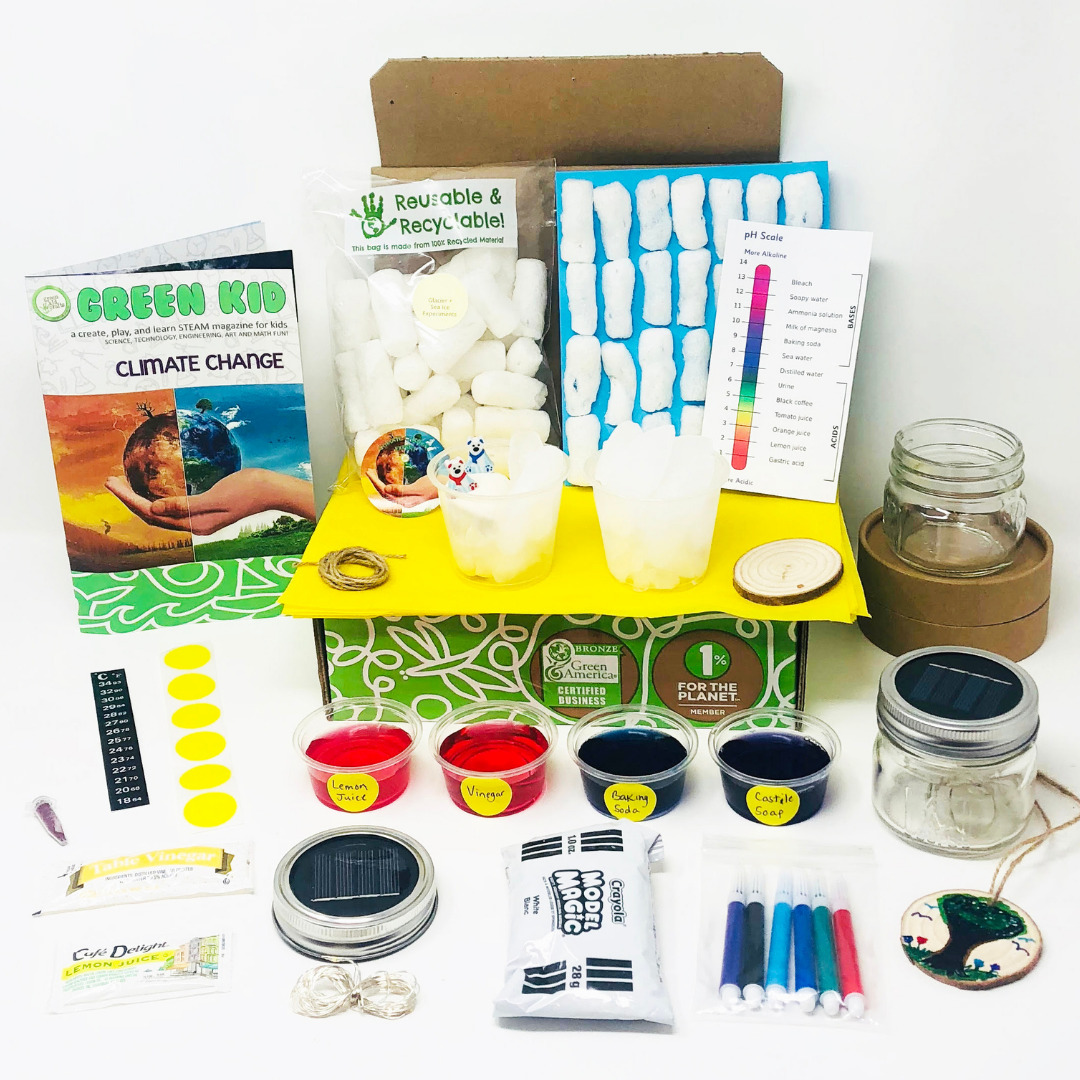
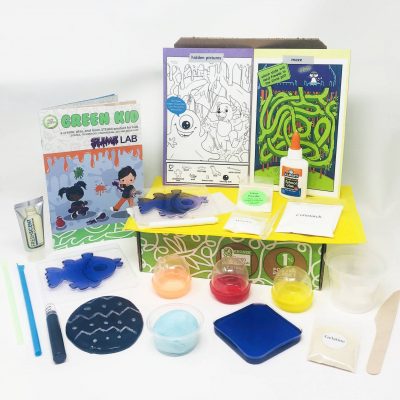
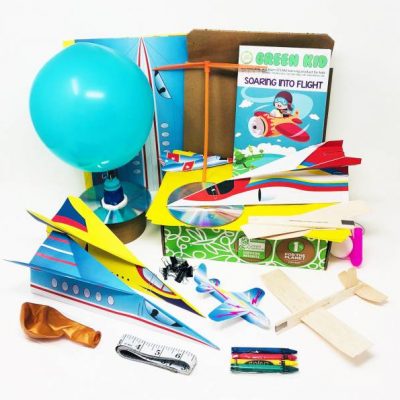
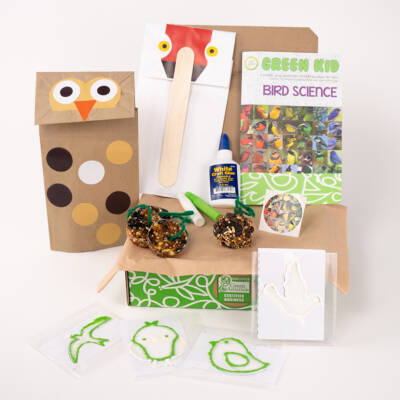
Every month a different box! For kids ages 2-10+
With 4-6 activities each, our Boxes pack a punch!